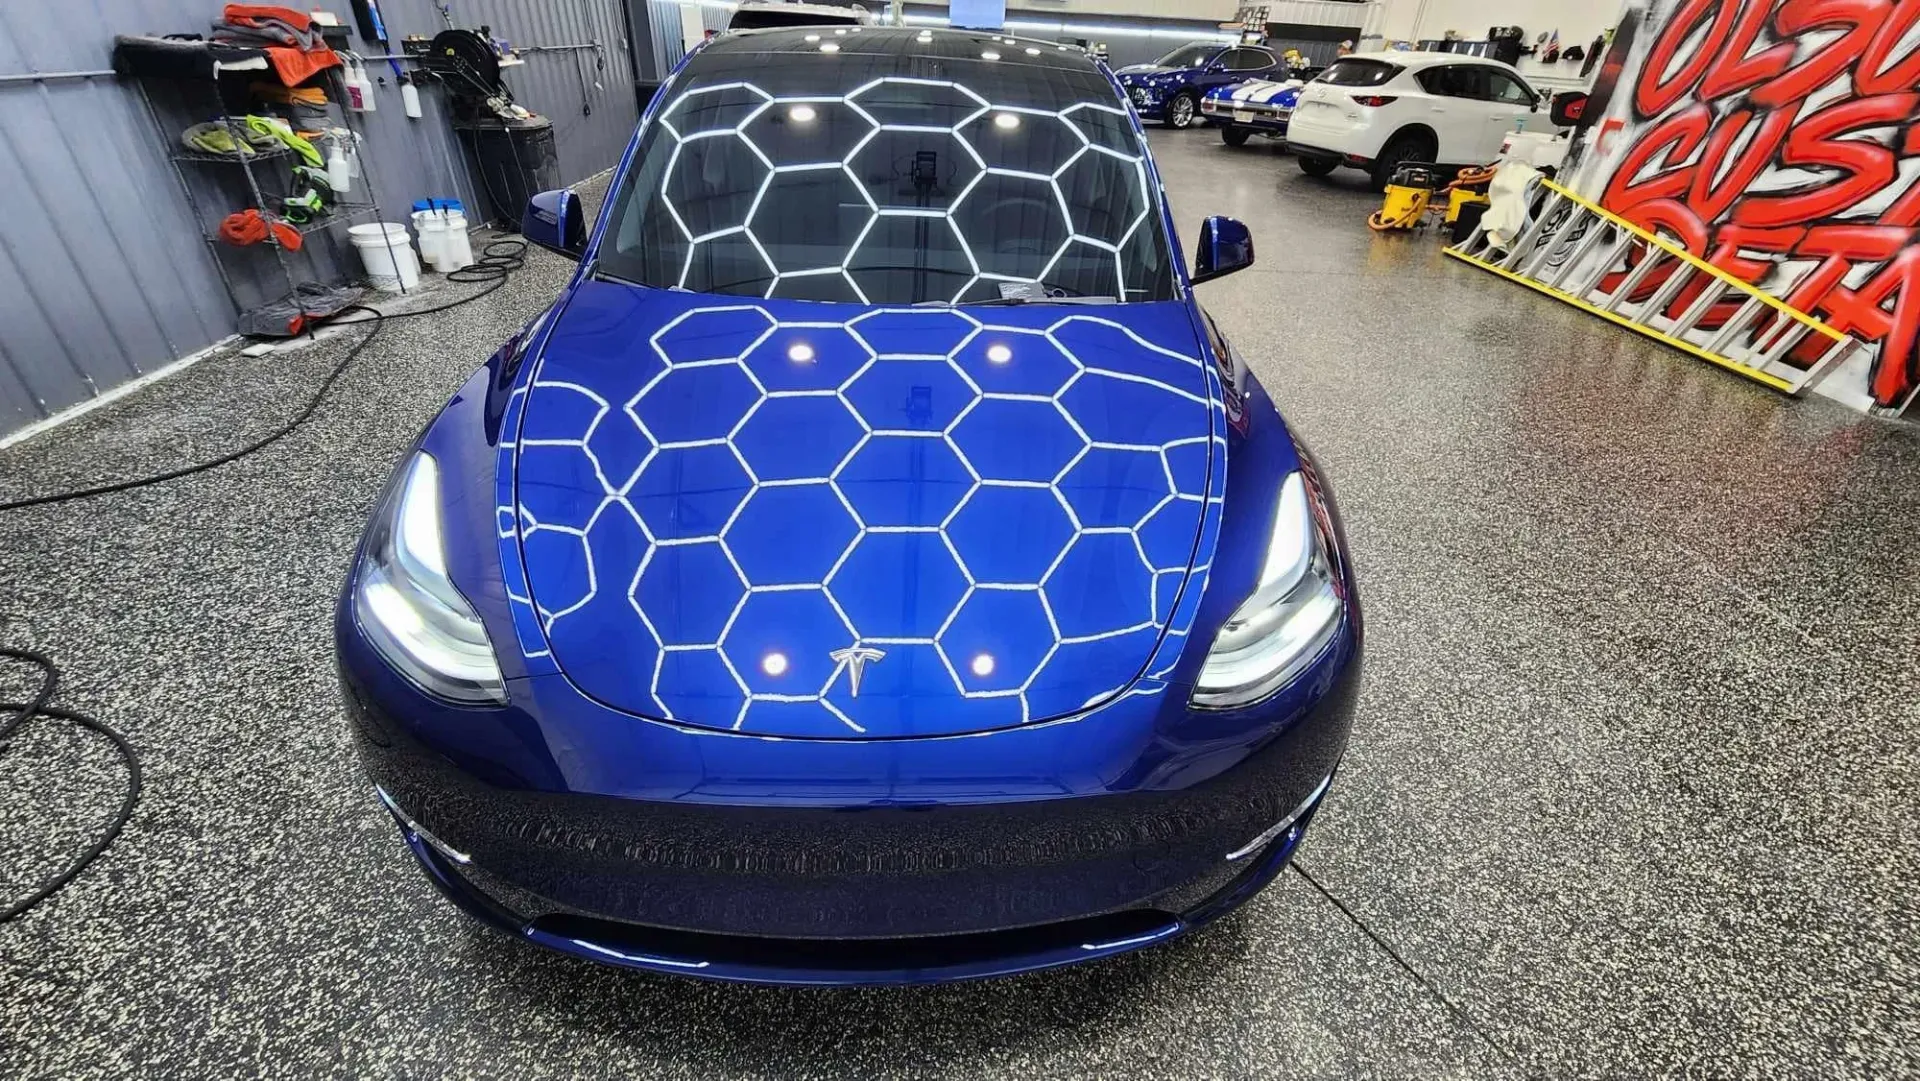
Step-by-Step Paint Protection Film Installation Process: A Comprehensive Guide
If you're determined to protect your car’s pristine look with Paint Protection Film (PPF), knowing the right steps is essential. A single slip could mean bubbles, wrinkles, or worse—damage to your vehicle's paintwork. That’s why we've compiled an in-depth guide, grounded in techniques that our professionals trust.
The installation of
paint protection film involves several key steps; first, thoroughly clean the vehicle's surface to remove any dirt or contaminants; then, measure and cut the film to size before applying a slip solution for ease of placement. Next, carefully align and apply the film, using a squeegee to eliminate air bubbles, trim excess material, and perform a final inspection to ensure a flawless finish. It's essential to allow the film to cure properly post-installation for optimal results.
Preparing for Installation
Before you begin installing the paint protection film (PPF), it is essential to set the stage correctly. A clean, organized workspace can significantly enhance the entire installation process and yield professional results.
Creating the Right Environment
Ensuring your installation area is clean, dry, and devoid of dust particles is paramount. Wiping down surfaces before you start will prevent unwanted dirt from sticking to your film during installation. Ideally, you want to work in an environment that maintains a temperature between 50-90 degrees Fahrenheit. If it’s too cold, your adhesive may not bond properly; too hot, it might become difficult to position the film without it sticking prematurely.
Professional installers often emphasize creating controlled environments—they use air conditioning to maintain stability in temperature and humidity.
Proper lighting is another crucial factor that cannot be overlooked. Strong, even lighting helps you spot potential issues right away, such as bubbles or misalignments that could compromise the final appearance of your installation. A well-lit workspace allows you to work more confidently and efficiently.
Creating the right environment isn’t just about cleanliness; it fosters an atmosphere where every element comes together seamlessly—allowing you to focus purely on applying the paint protection film with precision and care.
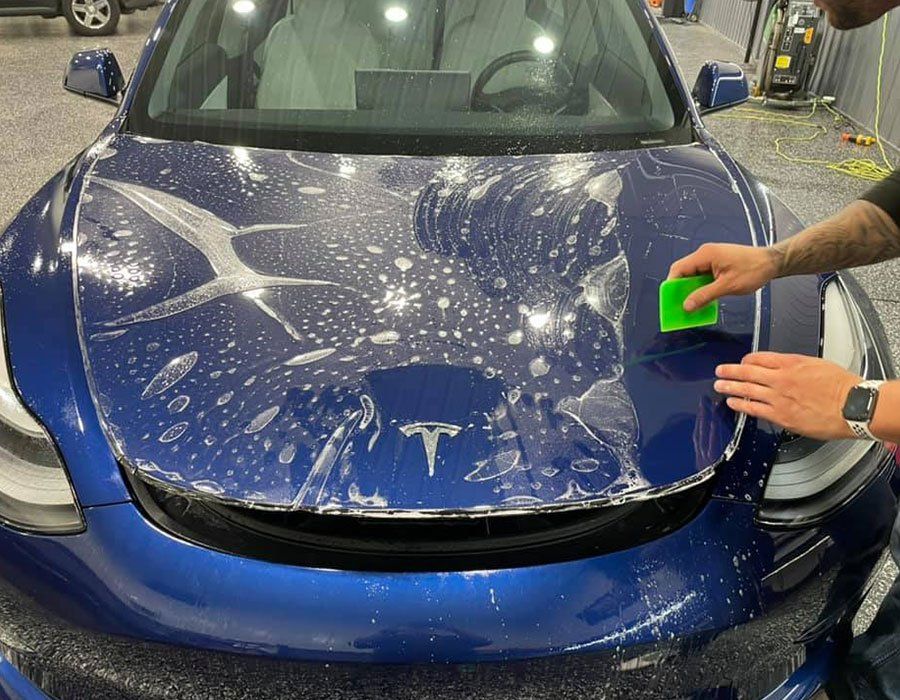
Cleaning and Preparing the Surface
The first step in this crucial process is ensuring that the vehicle’s surface is as pristine as possible. This goes beyond merely giving your car a quick rinse; it demands meticulous attention to detail throughout each stage of the cleaning process.
Step I: Thorough Washing
Start by washing the car using a pH-balanced car shampoo. This type of shampoo is gentle yet effective, helping to break down dirt and grime without damaging any existing protective coatings on the paint. Rinse thoroughly to ensure that all soap residue is eliminated, as any remnants could interfere with the adhesion of the PPF. It’s all about creating an optimal foundation for what comes next.
Now, once you've completed the wash, it’s time to reach for a clay bar. This tool works wonders as an adjuvant to remove any remaining contaminants from the vehicle's surface. A clay bar essentially pulls embedded dirt from the paint and ensures a flawlessly smooth texture. Don’t fret if you are unfamiliar with clay bars; they are user-friendly and come with clear instructions.
With your vehicle now immaculately clean, it's essential to prepare it further with chemical cleaners that will remove any lingering oils or waxes.
Step II: Chemical Prep
Now it’s time for chemical prep. Grab some isopropyl alcohol—specifically one that's around 70% concentration. This substance is wonderful for eliminating oils and grease from the surface that could hinder proper adhesion of the PPF. When applying the alcohol, use a lint-free cloth or microfiber towel for even coverage, especially focusing on edges and corners. These areas often tend to harbor wax buildup and grime that might go unnoticed during washing but can severely impact how well your film adheres.
It's crucial to take your time here; rushing through this step can lead to unforeseen problems later on. A properly prepared surface can extend the life of your PPF significantly, and let’s face it, no one wants to deal with lifting or bubbles under their protective film after all that hard work!
Having effectively cleaned and prepped your vehicle's surface sets you up perfectly for the final steps before installing your PPF, ensuring long-lasting results and a pristine appearance while paving the way for subsequent actions in this installation journey.
Applying the Adhesive and Positioning
The installation process relies heavily on two crucial aspects: applying the adhesive properly and positioning the film without misalignment. This step is critical, as it sets the stage for how well your paint protection film will perform over time.
Starting with the slip solution, which consists largely of water mixed with a bit of baby shampoo, helps create a lubricated layer that makes handling the film easier—allowing you to adjust and reposition without damaging it or impairing adhesion.
Step I: Applying Slip Solution
When you spray the slip solution generously on both the car's surface and the adhesive side of the film, you create a barrier that keeps the film from immediately sticking. This is particularly useful when you need a few seconds to maneuver it into position.
Notably, varying solutions have specific applications; for instance, a tack solution, which combines water with isopropyl alcohol, aids in adhesion for areas that may be difficult, such as curves or edges.
Step II: Positioning the Film
When it comes to positioning, meticulousness is key. Begin placing the film on the wet surface while aligning one edge carefully against pre-defined boundaries—like panel edges or contours—to ensure accuracy.
By slowly working across to the opposite edge, you'll avoid trapping air bubbles underneath, which can create unsightly dimples and diminish protection. Taking your time at this juncture significantly decreases misalignment risks, ensuring comprehensive coverage over your vehicle's surfaces.
Ideally, use just enough pressure; it's about getting it snug but not overly compressed, which reduces its flexibility. Misalignment can lead to more complications down the road, including irregular wear and tear or peeling.
Many industry professionals opt for pre-cut kits matched specifically to their vehicle’s shape—these kits greatly mitigate potential errors because they're tailored for fitment and lessen those pesky alignment issues right from the start. If you're undertaking this task as a DIY project, familiarity with your vehicle’s dimensions can go a long way in achieving effective installation. It allows you to predict how much adjustment you'll need during this critical application phase.

Smoothing and Adjusting the Film
Smoothing and adjusting the film is a vital part of the installation process that can make or break the final look of your project. A well-applied paint protection film not only looks seamless but also performs effectively, shielding your vehicle's paint from scratches and UV damage. To ensure that the film adheres properly without bubbles or wrinkles, it's essential to take your time during this phase.
Step I: Using a Squeegee
As you begin this step, grab a soft squeegee, which is your best ally in achieving a flawless surface. Start at the center of the film and apply consistent pressure while moving outward toward the edges. This technique helps eliminate air bubbles and ensures even adhesion across the entire surface.
If any bubbles do appear despite your best efforts—don’t worry! Simply use your squeegee to gently push them towards the edges. Sometimes it’s helpful to have a pin handy; for larger stubborn air pockets, you can make a tiny hole in the bubble and apply slight pressure with the squeegee again. This will allow trapped air to escape without creating noticeable damage to the film itself.
Step II: Tack Solution for Difficult Areas
When dealing with tricky spots like tight corners or curves, a tack solution becomes indispensable. Spray a light mist onto these areas before pressing down with your squeegee. The quick-drying adhesive properties of this solution enhance grip, allowing the film to conform better to irregular surfaces.
It’s similar to using double-sided tape for those challenging spots—it ensures that everything stays precisely where it needs to be.
It’s crucial to reapply this tack solution as needed while working through each section because this will provide extra adhesion where required, helping the film hold firmly in place over time. Remember that proper edging is just as important as getting the main body of the film right; unsealed edges can lead to peeling or lifting down the line.
Cutting Edges and Final Touches
Achieving a neat and professional look requires precise trimming of excess material and attention to detail. Accurate trimming is the first crucial step in this process; using a sharp blade ensures that you can easily remove any excess film without causing damage to your vehicle’s paint.
It’s essential to maintain a steady hand while cutting; applying too much pressure can lead to unwanted scratches or nicks on the surface beneath the film. Professionals often utilize specialized cutting tools that offer greater control and precision, significantly minimizing the risk of damaging the car's exterior.
Step I: Accurate Trimming
When trimming, start by working from one edge towards another, making clean, fluid strokes. It helps to gently tug on the film away from the painted surface as you cut—just enough to create tension that allows for neater edges.
Keep in mind that any residual edges left after trimming can be prone to lifting over time if not handled carefully. If you're unsure about your cutting skills, don’t hesitate to consult with a professional for insights or even assistance during this step; their expertise can go a long way in achieving that showroom finish.
After ensuring all excess film is trimmed away, the next step is critical for both aesthetics and durability: sealing those edges.
Step II: Sealing the Edges
Use a heat gun or hairdryer set on low heat to carefully conform the film around the vehicle’s contours, particularly in areas with complex curves or tight spaces. The gentle warmth aids in softening the adhesive backing of the film, allowing it to mold better to the surfaces it covers.
When applied correctly, this step forms a tight seal along those vulnerable edges, significantly enhancing the film's holding power and reducing potential peeling issues. It's important to move the heat source back and forth consistently; keep it at least six inches away from the surface to prevent overheating, which could result in damage.
Sealing properly not only improves the appearance but also extends the life of your paint protection film, helping maintain your vehicle's aesthetics for years to come.
Finally, don't forget to perform a visual inspection for any bubbles or imperfections that may have occurred during installation. Taking a few moments to walk around your vehicle can help catch any minor issues before they become significant headaches down the road.
Quality Inspection and Expertise
The process of applying paint protection film (PPF) is not complete until a meticulous quality inspection is performed. This inspection acknowledges the importance of identifying imperfections that could compromise the film’s effectiveness or durability over time. Professionals know they aren’t just looking for surface-level flaws; they're checking every aspect of the installation.
During this quality check, here are some key elements that experts scrutinize:
- A smooth and bubble-free surface is essential for aesthetics and performance. Any bubbles trapped beneath the film can lead to premature peeling or discoloration.
- Properly aligned edges ensure that the film looks good and performs well, preventing any lifting or damage over time.
- Secure adhesion, particularly around curves and corners, is crucial, as these areas are often more prone to lifting without proper sealing.
- Inspecting for any visible contaminants under the film is vital since even small particles can impact appearance and adhesion.
This level of expertise in inspections sets professionals apart from DIY attempts; they utilize years of experience to notice details others may miss.
While a DIY project may seem appealing to save some money, investing in professional services ensures peace of mind and longevity. For those looking to achieve a professional result without the hassle, consider booking an appointment with Olson's Custom Detailing Inc. for expert service.
If you're ready to protect your vehicle with top-notch installation, reach out to
Olson's Custom Detailing Inc. We are happy to help!
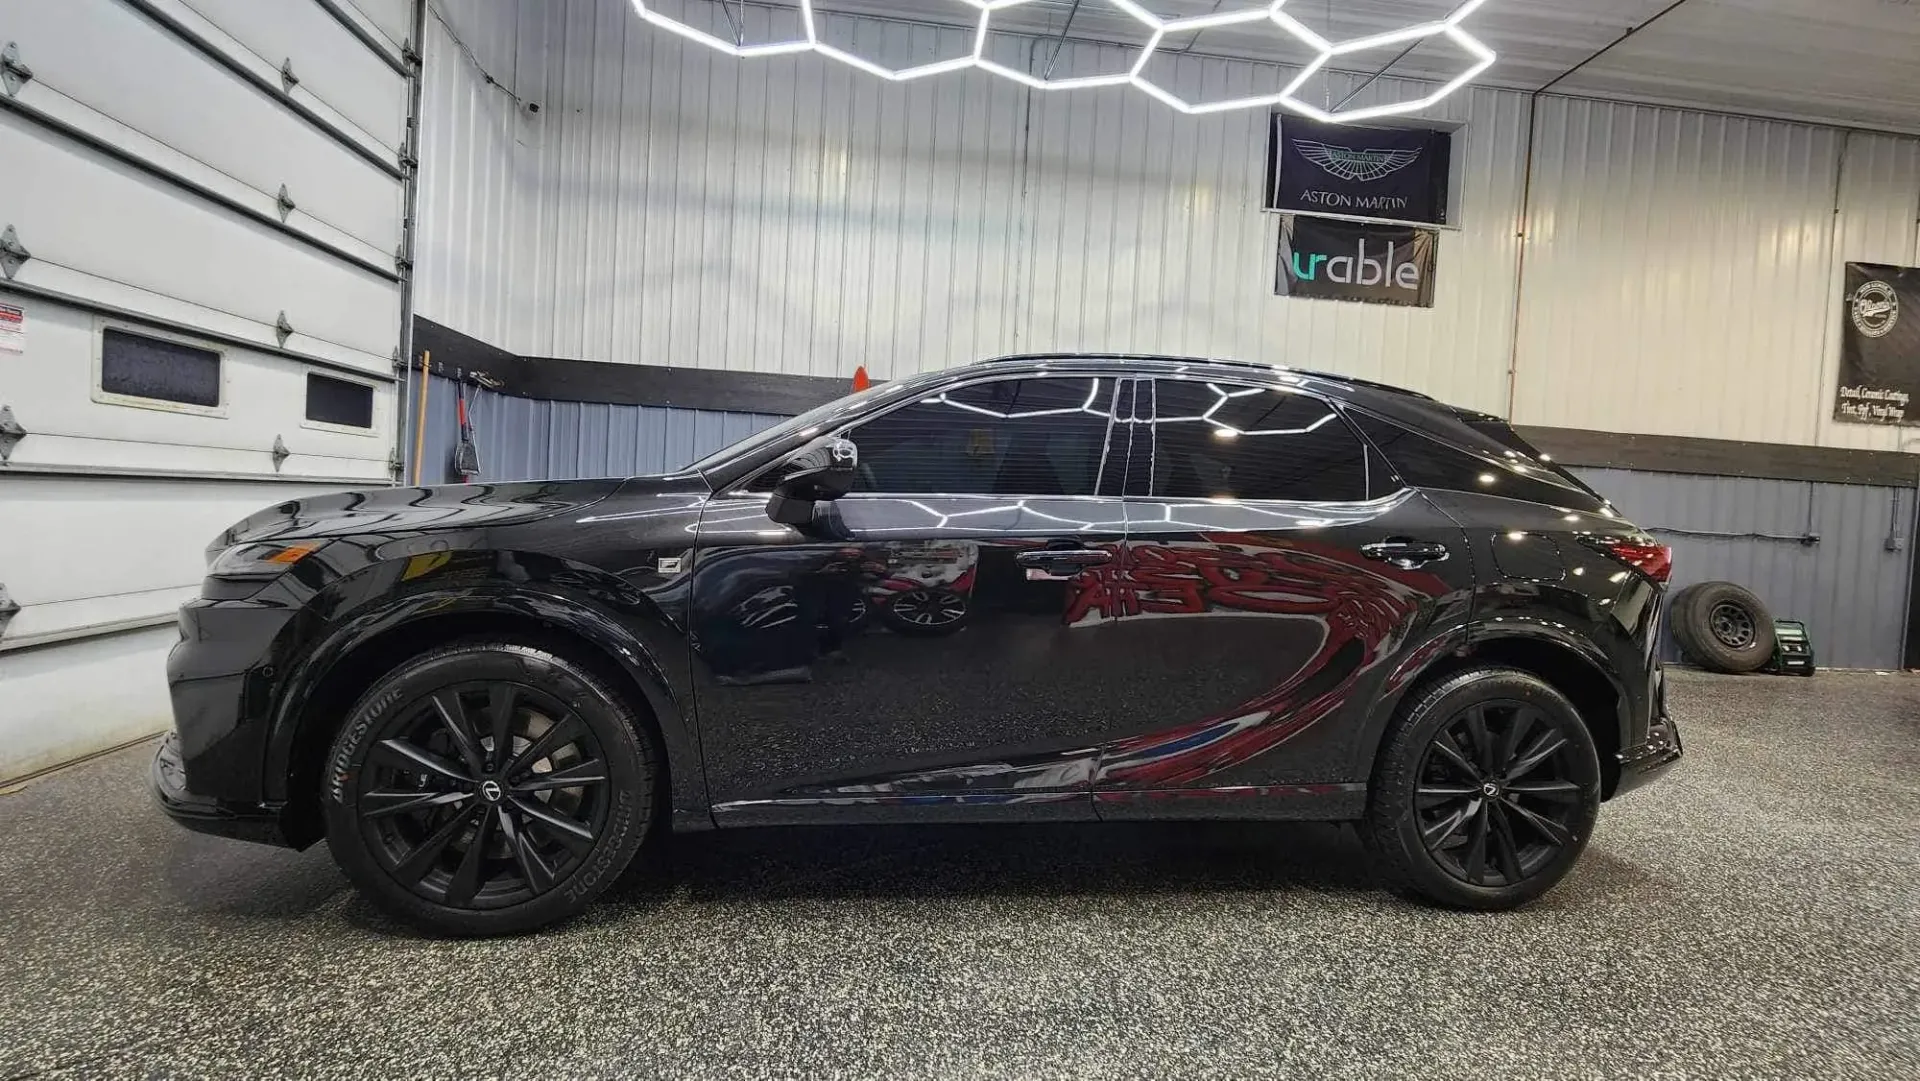
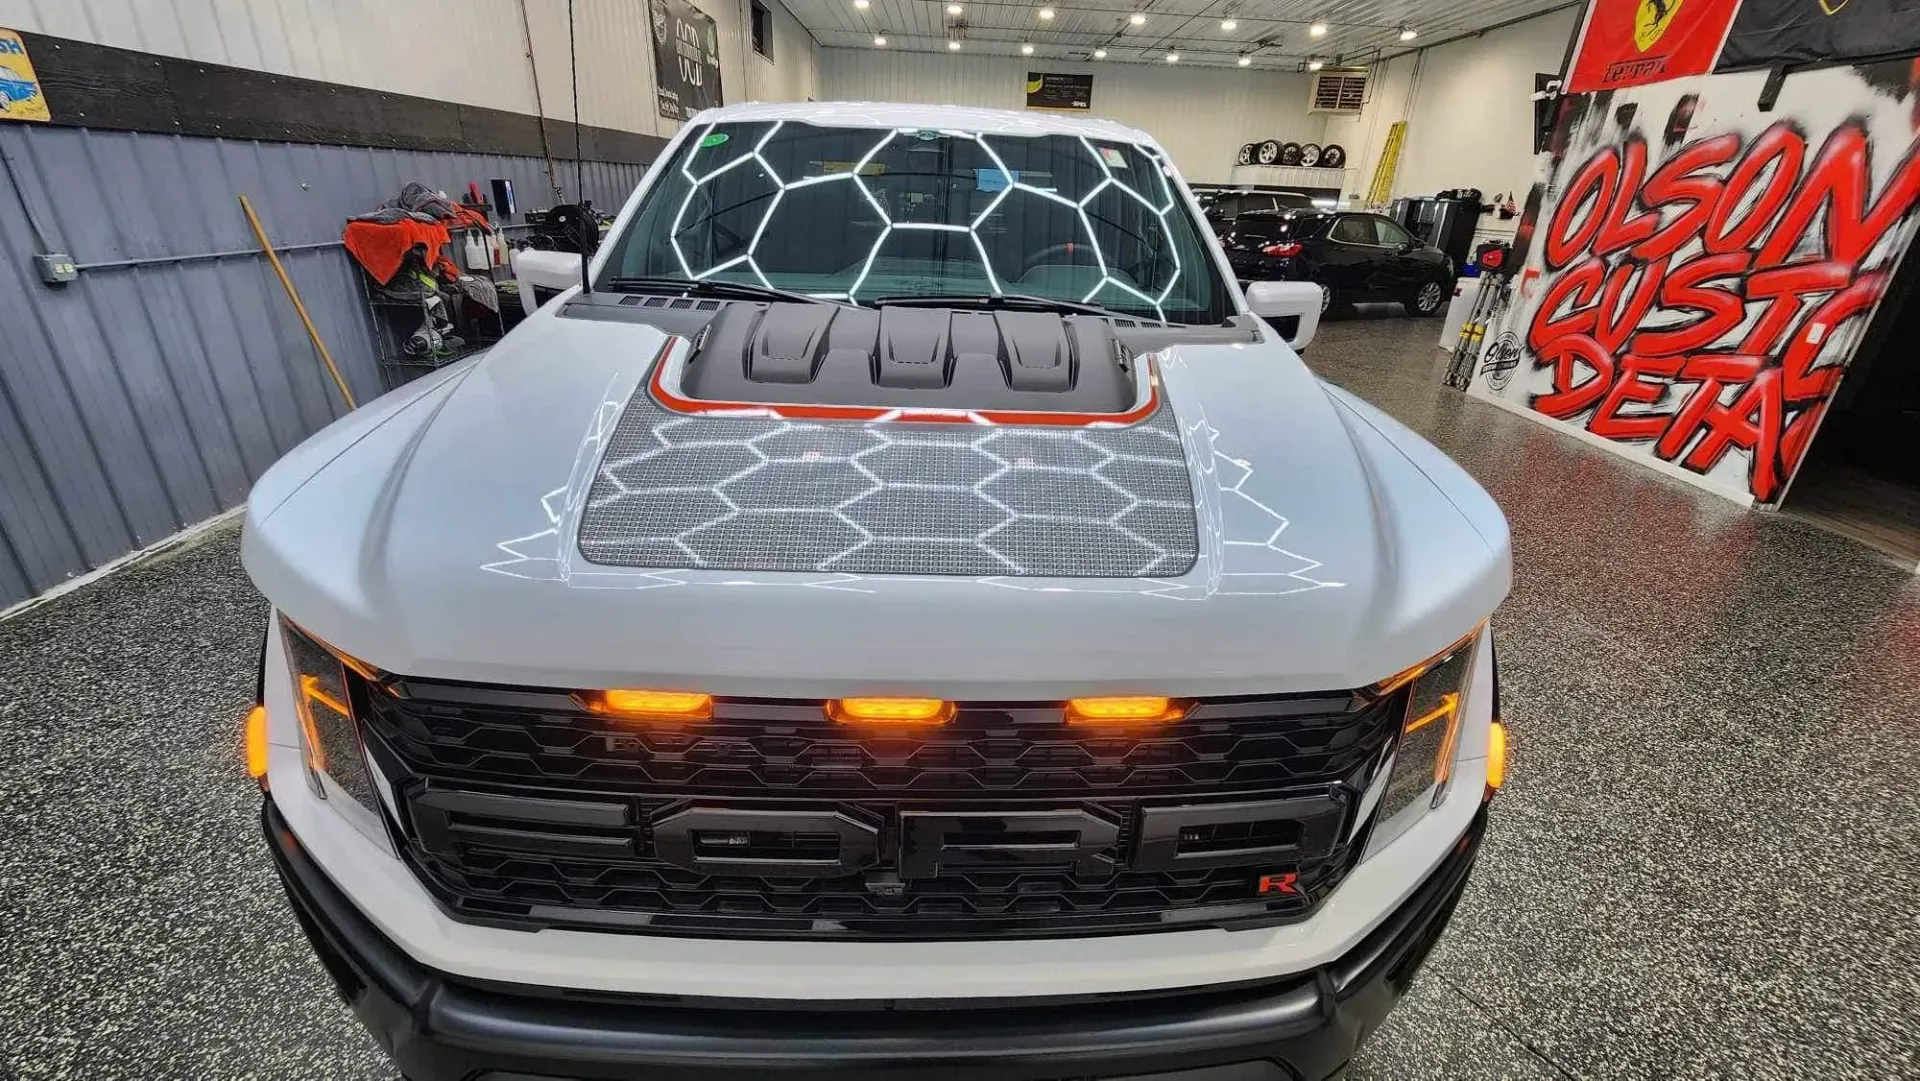
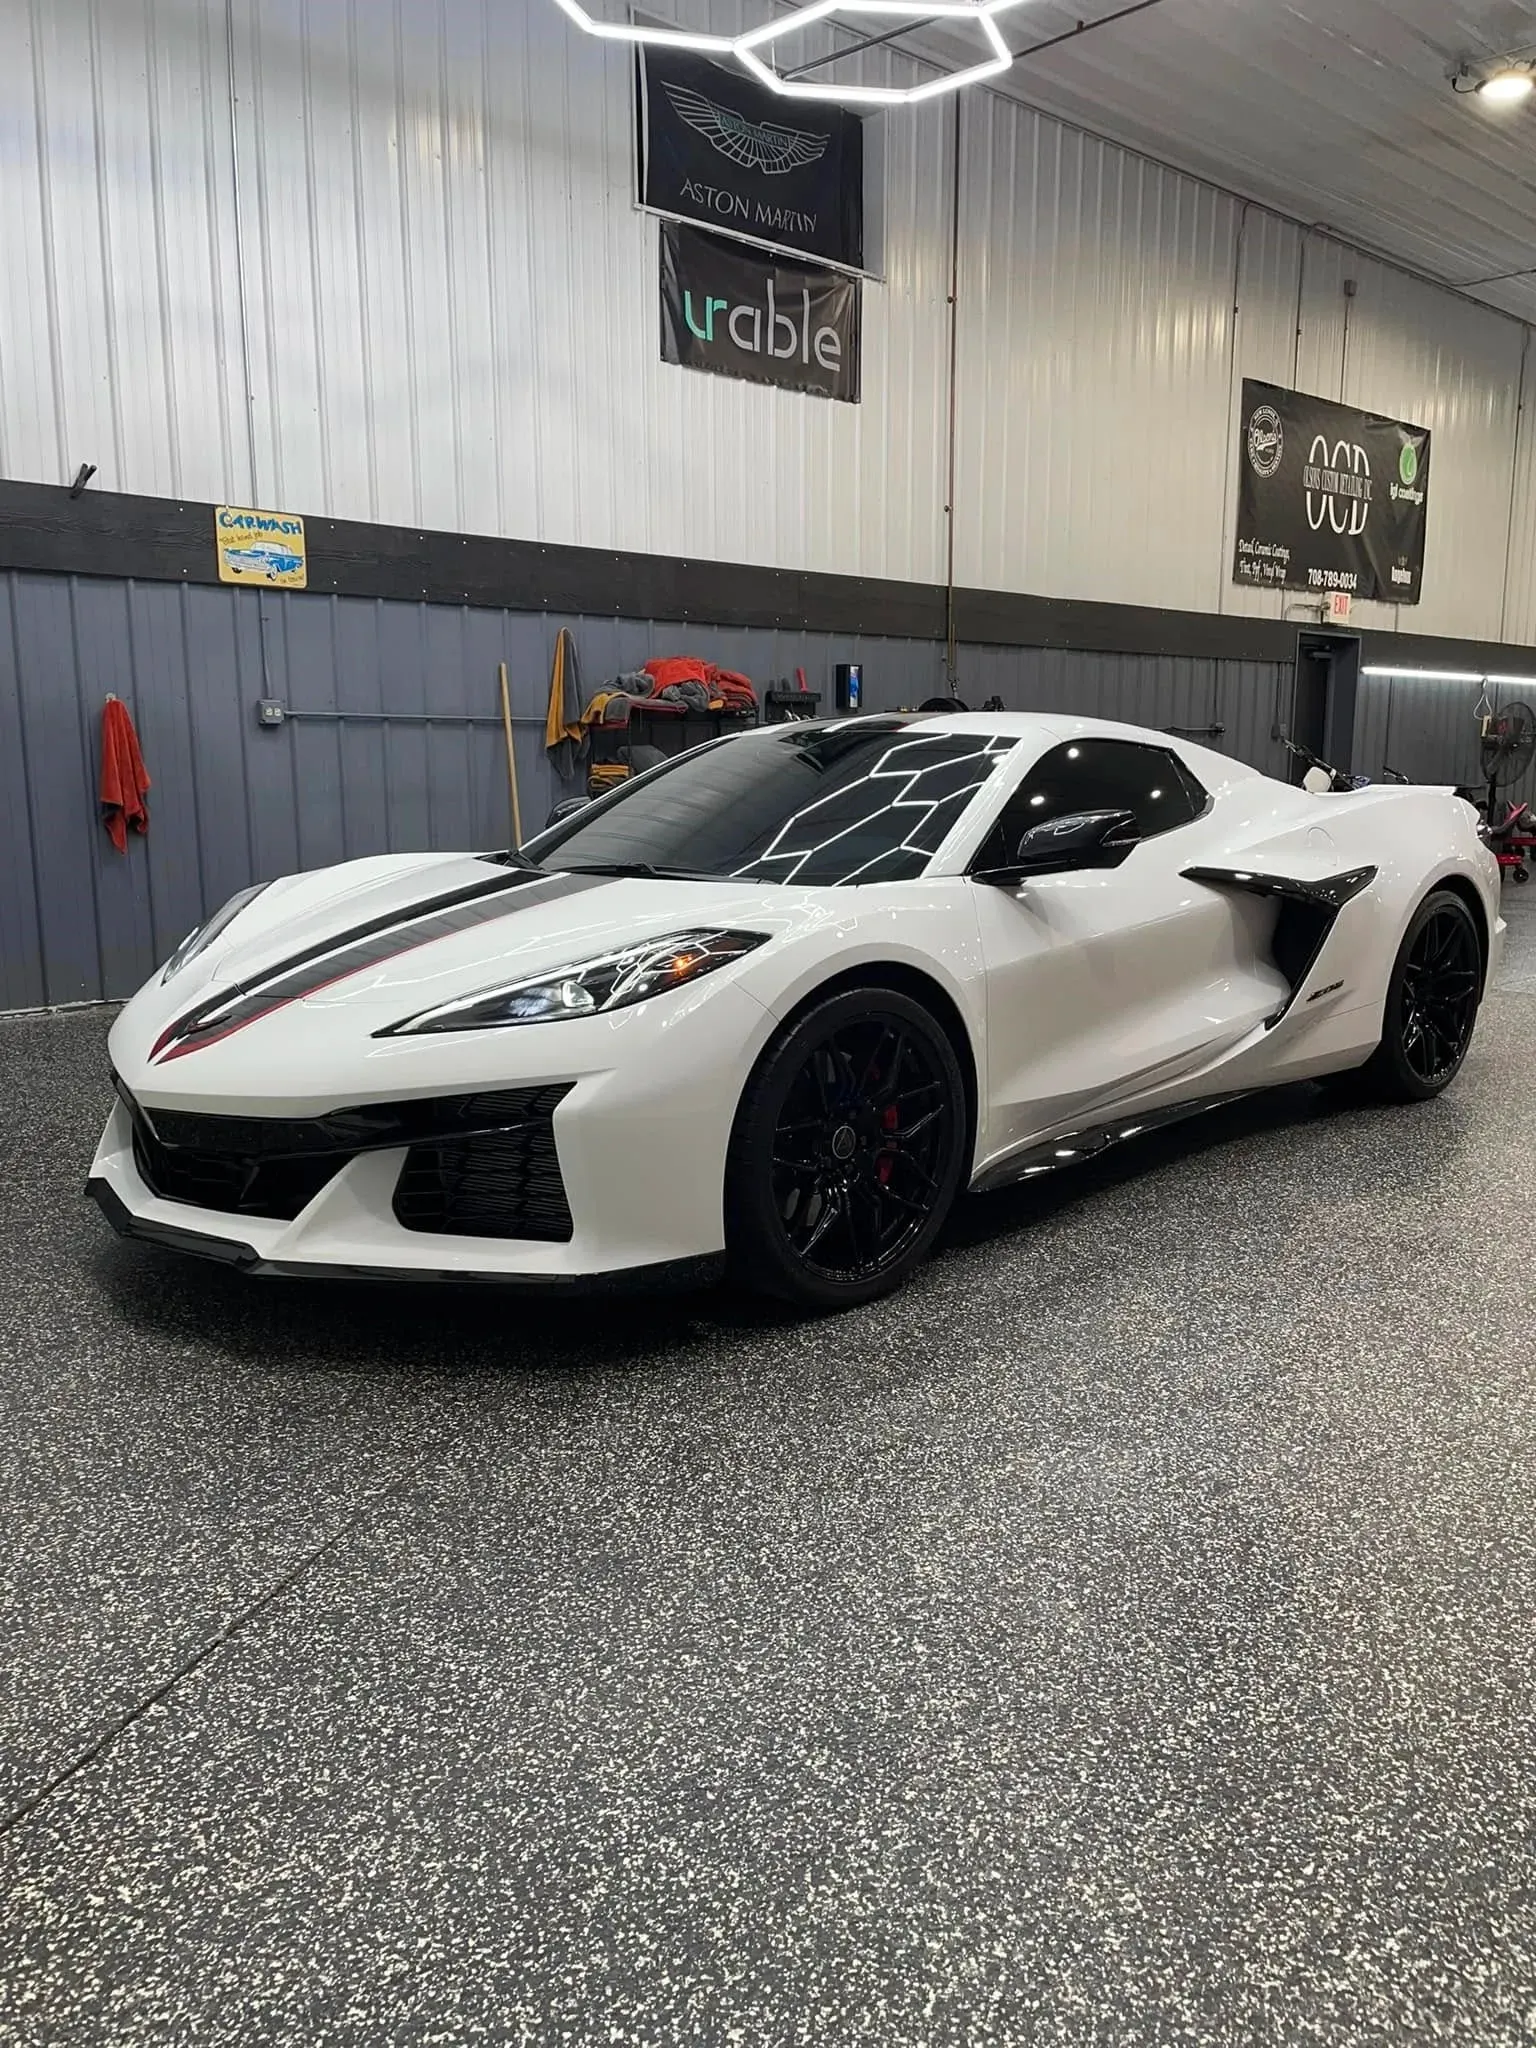
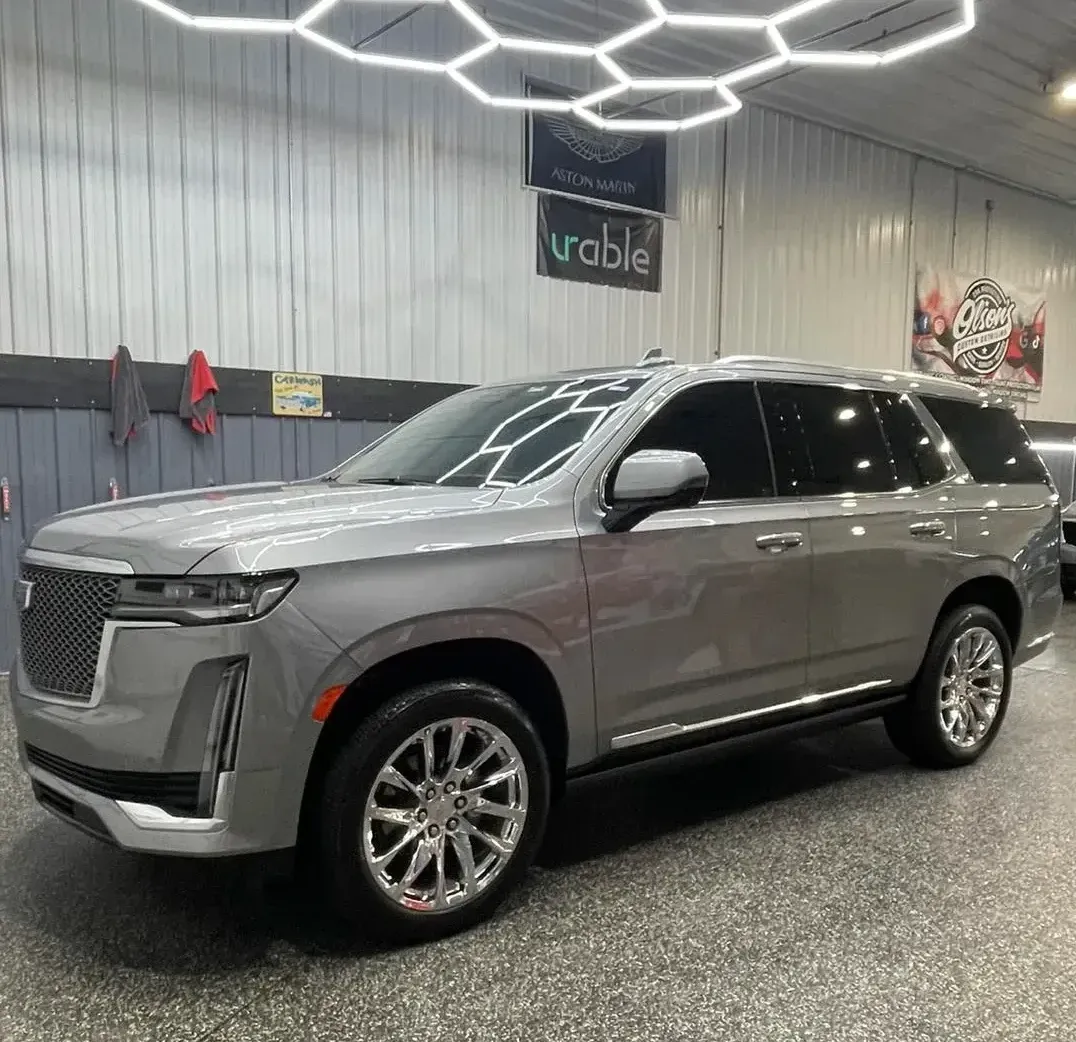
Olson’s Custom Detailing Inc is an all-inclusive paint protection and vehicle detailing company in New Lenox, Illinois. Founded in 2019, we at Olson’s Custom Detailing Inc have fostered company-wide customer service standards that are sure to meet and exceed your standards. Whether you are searching for the most lustrous paint finish with our ceramic coating packages, self-healing protection against surface defects with our XPEL Clear Bras, XPEL window tint films, or complete interior and exterior vehicle detailing services, we do it all!
QUICK LINKS
OUR LOCATION
12546 W Harvey Dr, New Lenox, Illinois, 60451, United States
CONTACT US
Phone: (708) 789-0034
Email: olsonsdetailing@yahoo.com
HOURS OF OPERATION
Monday-Friday: 6:00 AM - 4:00 PM, By Appt Only
Saturday-Sunday: Closed
FOLLOW US ON SOCIAL MEDIA

Designed by the team at Detailers Roadmap, a platform developed for detailing operators across the globe.